

How to Install WordPress on your Windows Computer Using AMPPS
Did you know that you can install WordPress on your own Windows computer for learning and testing? Working with WordPress for Windows is a great way to test plugins, updates, and other website changes before pushing them live to your audience. In this article, we’ll show you how to install WordPress locally using AMPPS.
The process of installing WordPress on your personal computer is also known as setting up a local server environment or localhost. Often theme designers and plugin developers install WordPress on a local server environment to speed up their development process.
It’s a good idea to use WordPress for Windows in order to test any major changes to your site. This way you can catch and fix any issues before they affect your audience.
Note: If you install WordPress locally on Windows, then the only person who can see that site is you. If you want to create a WordPress blog that is available to the public, then you need to have a domain name and web hosting. We recommend that you follow this guide on how to install WordPress.
What is AMPPS?
AMPPS is a software stack from Softaculous enabling Apache, Mysql, MongoDB, PHP, Perl, Python and Softaculous auto-installer on a desktop. This includes everything you need for website development. Start developing your website from open source web applications or just start writing code yourself.
Step 1: Installing AMPPS on your PC
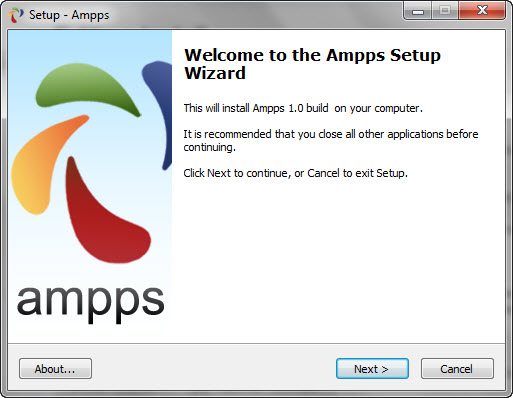
The first thing you need to do is go to the AMPPS website and download the latest version of AMPPS. You will be presented with various options on their download page. Simply choose the one that applies to the Operating System that you are using.
Once you have downloaded AMMPS, run the installation program and carefully follow on-screen instructions. It will use your default web browser.
If you are using Windows PC the supported Operating Systems are Windows 7, Windows Vista SP2, Windows XP SP3+, Windows Server 2003 SP2+, Windows Server 2008, Windows Server 2008 R2.
Note: You must have administrator privileges on your computer to run AMPPS.
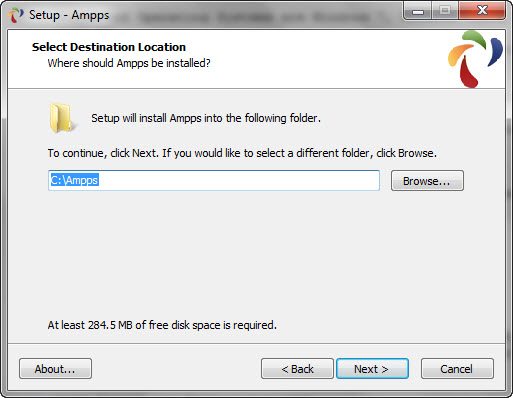
Set Path
The wizard will ask the path to AMPPS
Setup Completed
You will see a screen as follows when the setup is finished.
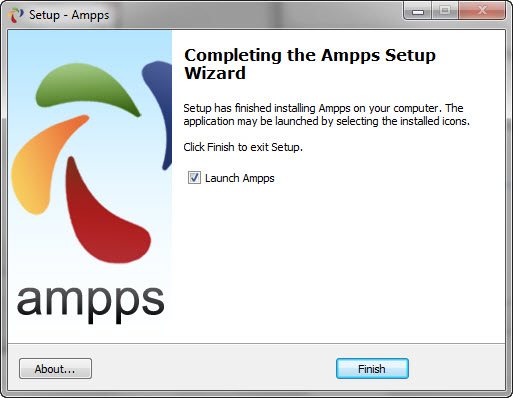
When you run AMPPS for the first time make sure your Internet connection is active.
If you are facing any issues, please open a ticket at Support.
Step 2: Start Apache and MySQL
After installing, open the app. You’ll be greeted with the “Control Center.” Start both Apache and MySQL by clicking the toggle buttons for both of them.
Note: For best result on Windows PC run as Administrator.
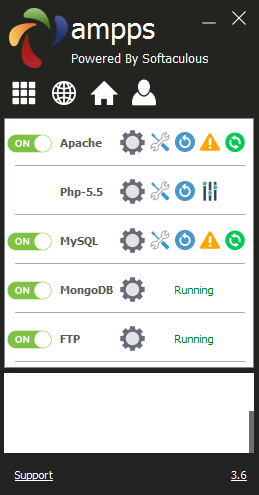
You’ll see success messages in the status window below, but to make double sure it’s working, type http://localhost/ into your browser’s address bar.
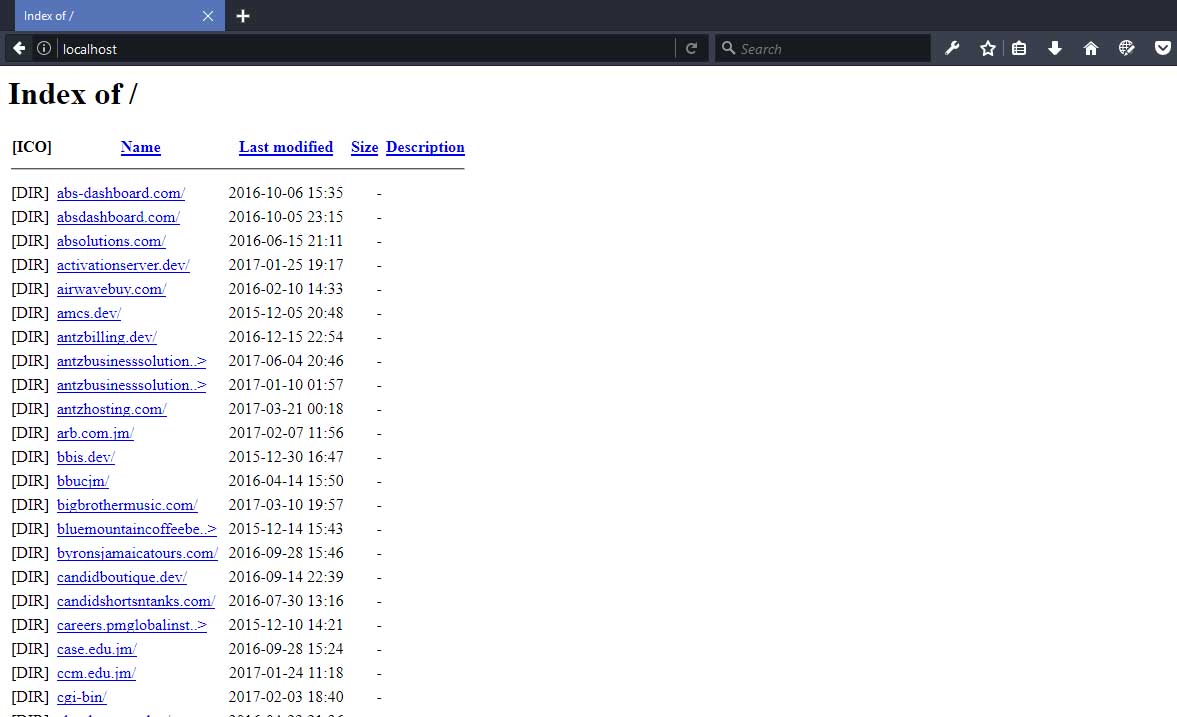
In some browsers, you may be able to get away with just typing “localhost” but since many browsers combine their address bar with a search engine such as Google Chrome, it might get confused and try to search for “localhost” instead. So prefixing “localhost” with http:// is a good habit to get into.
At this point, you have a functional web server running locally on your computer.
Fun fact: http://127.0.0.1 will also work like http://localhost/ and can be used interchangeably. This is known as the loopback IP address.
Step 3: Choose a fake domain
If we really wanted to, we could use a URL like http://localhost/wordpress/ for our locally hosted WordPress site, but we’ll go ahead and install WordPress on a more realistic-looking domain.
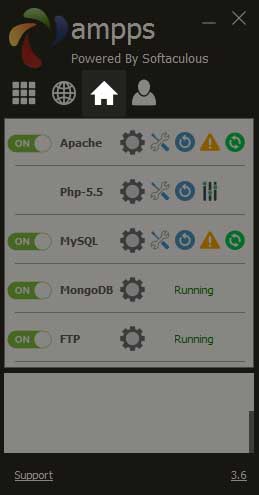
To get started, click the house icon in the AMPPS Control Center to access AMPPS Home.
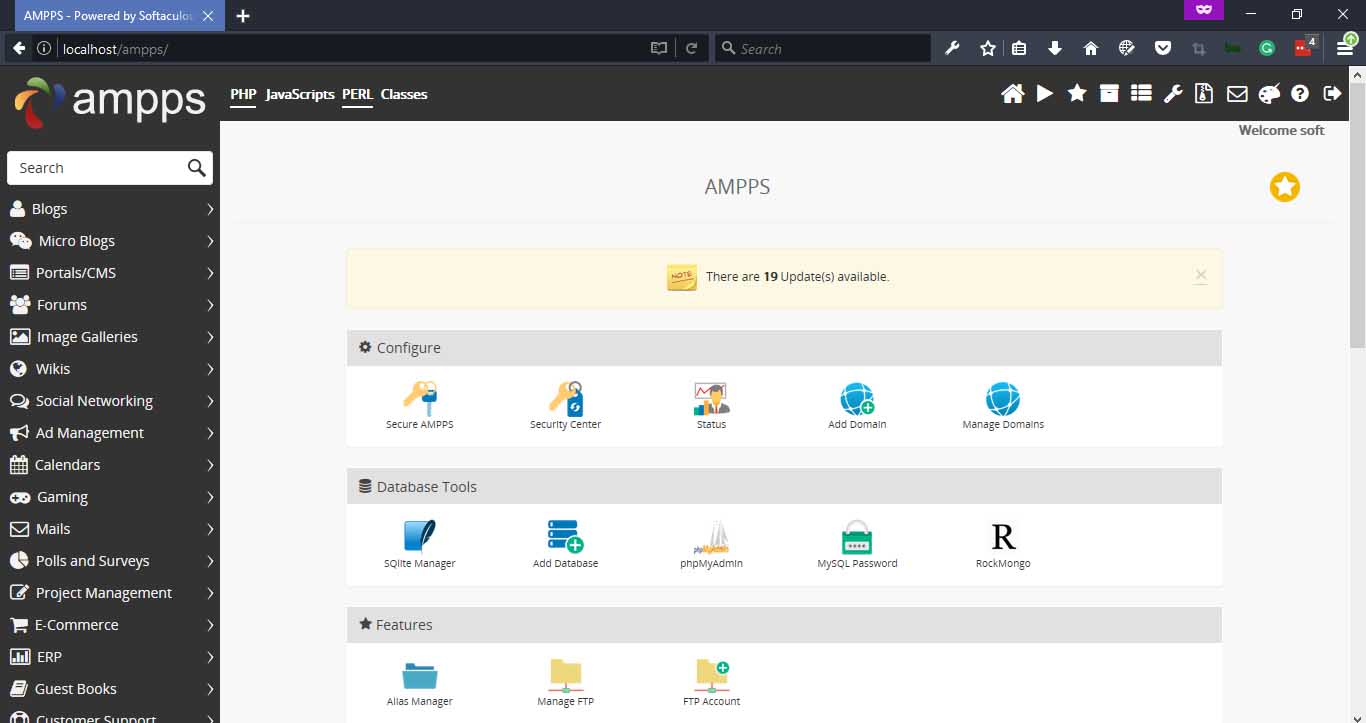
You can also access AMPPS Home by typing the following URL into your browser’s address bar: http://localhost/ampps
If you can’t access it, refer back to step 2 and make sure Apache and MySQL are running.
Once on the AMPPS home screen, click on the “Add Domain” link.
Reserved domain extensions for testing
There are four reserved domain extensions for “testing and documentation examples” according to this.
- test
- example
- invalid
- localhost
To avoid conflicts with potentially real domains (like .dev, which is a popular one for local development) you should use one of the above.
For example purposes, we’ll use the following fake domain: wordpress.localhost
Step 4: Add the fake domain
On the “Add Domains” screen (which can also be accessed by typing http://localhost/ampps/index.php?act=ampps_domainadd in your address bar, but it’s nice to know other ways of getting there) we’ll type in our desired domain.
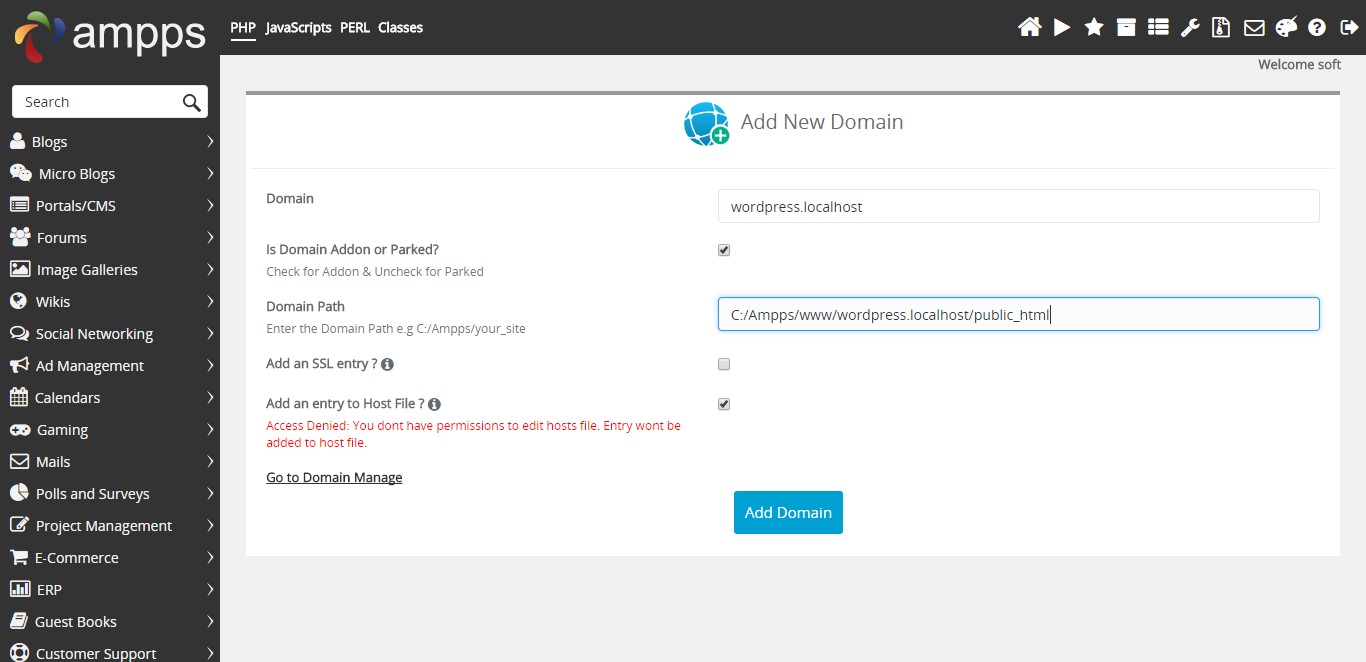
You’ll notice as you’re typing, the “Domain Path” field fills out to match. This is the folder where we’ll later add our WordPress files, so take note of this path. On a Mac, it will be the following: /Applications/AMPPS/www/wordpress.localhost.
Keep all the other settings on their defaults, as seen in the screenshot:
Is Domain Addon or Parked? Checked
Add an SSL entry? Unchecked
Add an entry to Host File? Checked
Then click “Add Domain” to add the domain. At this point, typing http://wordpress.localhost/ into your browser will lead to a page with an empty directory index (except for a /cgi-bin/ directory, which you won’t need).
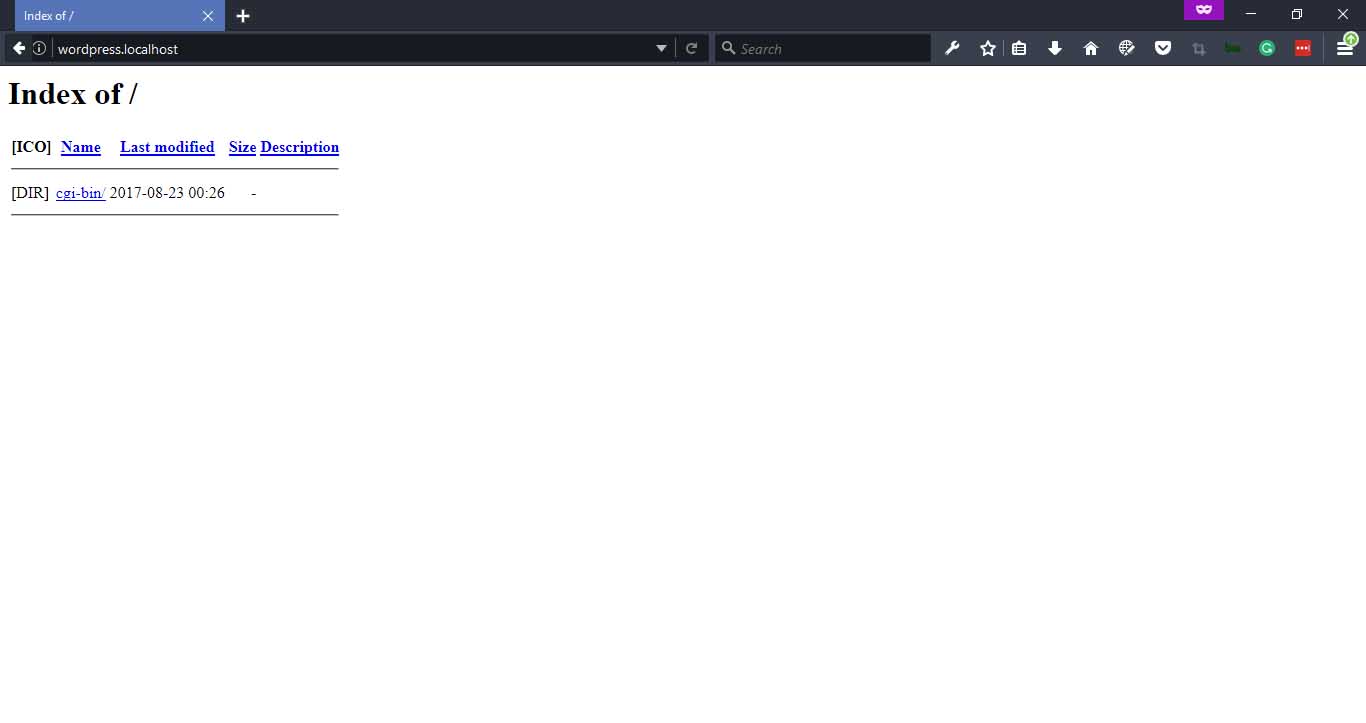
Even though just “wordpress.localhost” may all be that’s necessary, prefixing the domain with http:// is a good practice so browsers don’t get confused and attempt to run it through a search engine first.
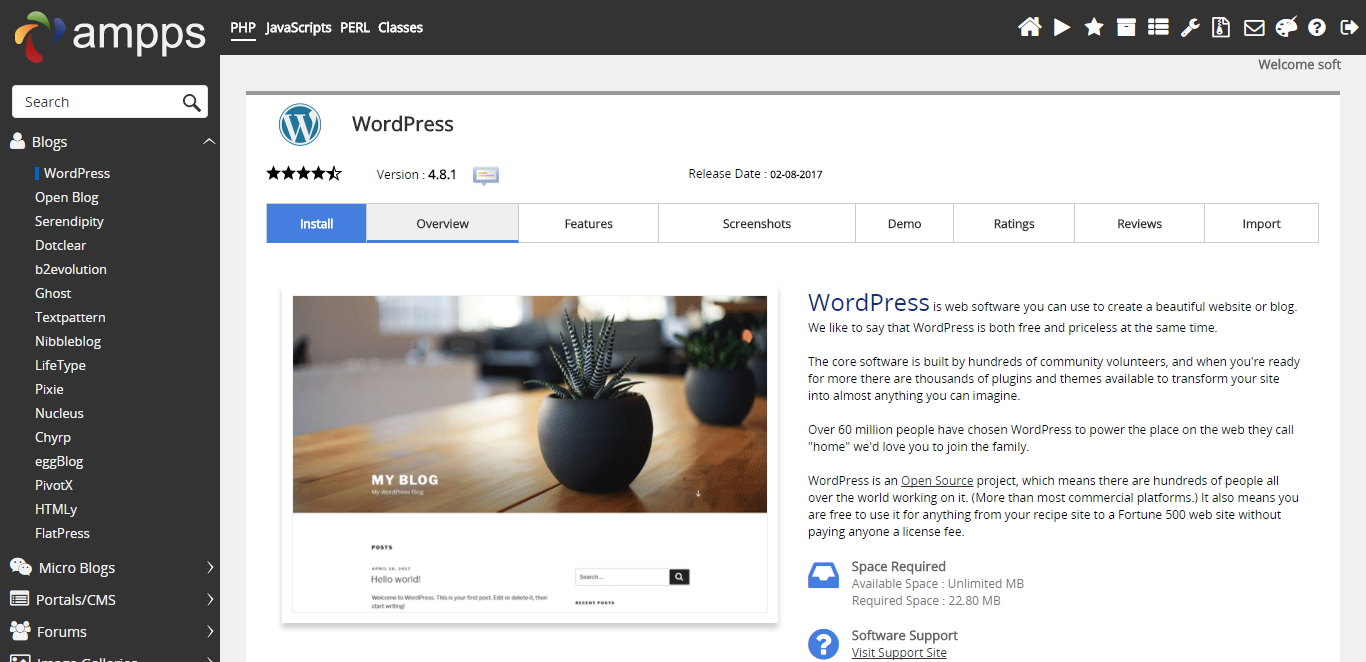
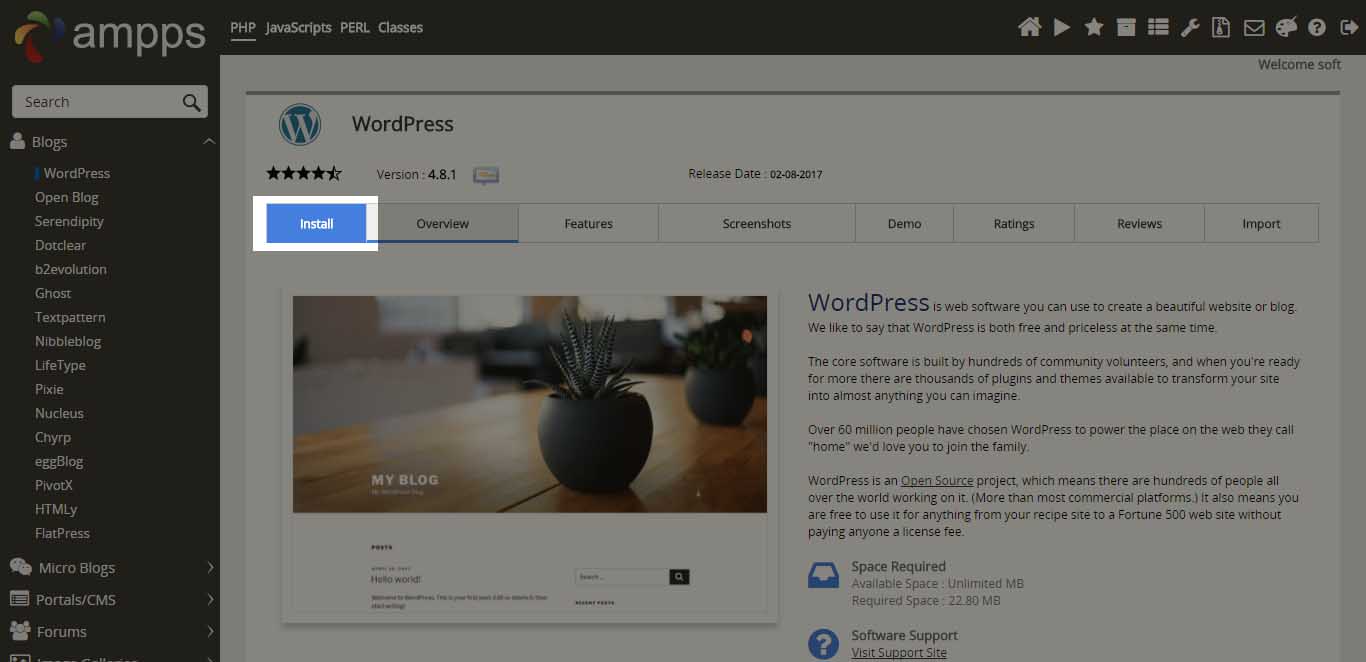
Step 5: Installing WordPress
On the left panel select blog and click WordPress. This will take you to the WordPress overview screen. From here click “Install” to start the Automated installation process.
Now we will enter the details of our installation such as domain we will like to install WordPress for and the name of the database.
Note: You will not need to create the daabase before you carry out the installation process. The setup will do so for you
Now we can procedd to instlall Worpress by pressing install. The package will beginning downloading and you will be presented with a screen which will display the installation progress.
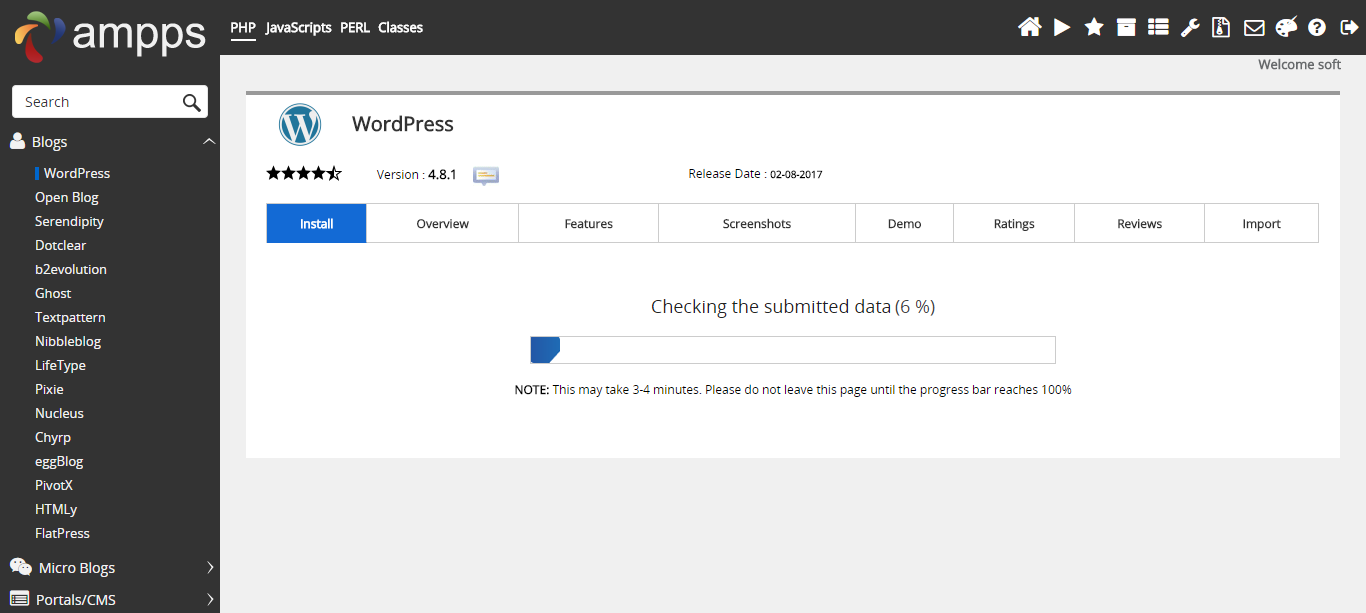
You will then ve greeted with a congratulation screen which will confimr that the installation was completed successfully.

In closing
There are plenty of ways to install WordPress locally.
I’m not going to argue about which way is the “best” because it’s something that I’m just not that opinionated about. AMPPS works, and I’m comfortable with it. So I use it.
Plus as a developer, I don’t particularly care about exact parity between local and live environments, since my applications may be used on many different types of environments that I can’t anticipate. It sometimes even helps me when an error is thrown on one environment, but not the other, because I can look into why and eliminate it.
If you have any suggestions on what local development environment tool I should try next (and write a similar tutorial about), I’m all ears!
Recommended Posts
VPS Hosting vs Shared Hosting
March 18, 2023
Pros and Cons of Shared Hosting
March 17, 2023

Pros and Cons of VPS Hosting
March 16, 2023
It’s really a cool and useful piece of info. I am glad that
you just shared this helpful information with us.
Please keep us informed like this. Thank you for sharing.
I know this if off topic but I’m looking into starting my own weblog and was wondering what all is needed to get set
up? I’m assuming having a blog like yours would cost a pretty penny?
I’m not very web savvy so I’m not 100% certain. Any suggestions or advice would be greatly appreciated.
Many thanks